Nutanix Migration Lab - Part 1
Moving workloads either to cloud or between hypervisors comes at a cost, change planning, downtime and administrator effort. I set up Nutanix Move in my home lab to test some migration scenarios, I’ll start with simple modern systems and work down to move complex, older systems in later posts
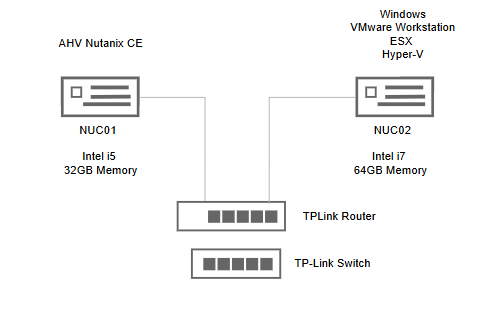
The homelab setup is simple, AHV on the smaller NUC and VMware Workstation on the larger machine
Download and Deploy a Move Appliance
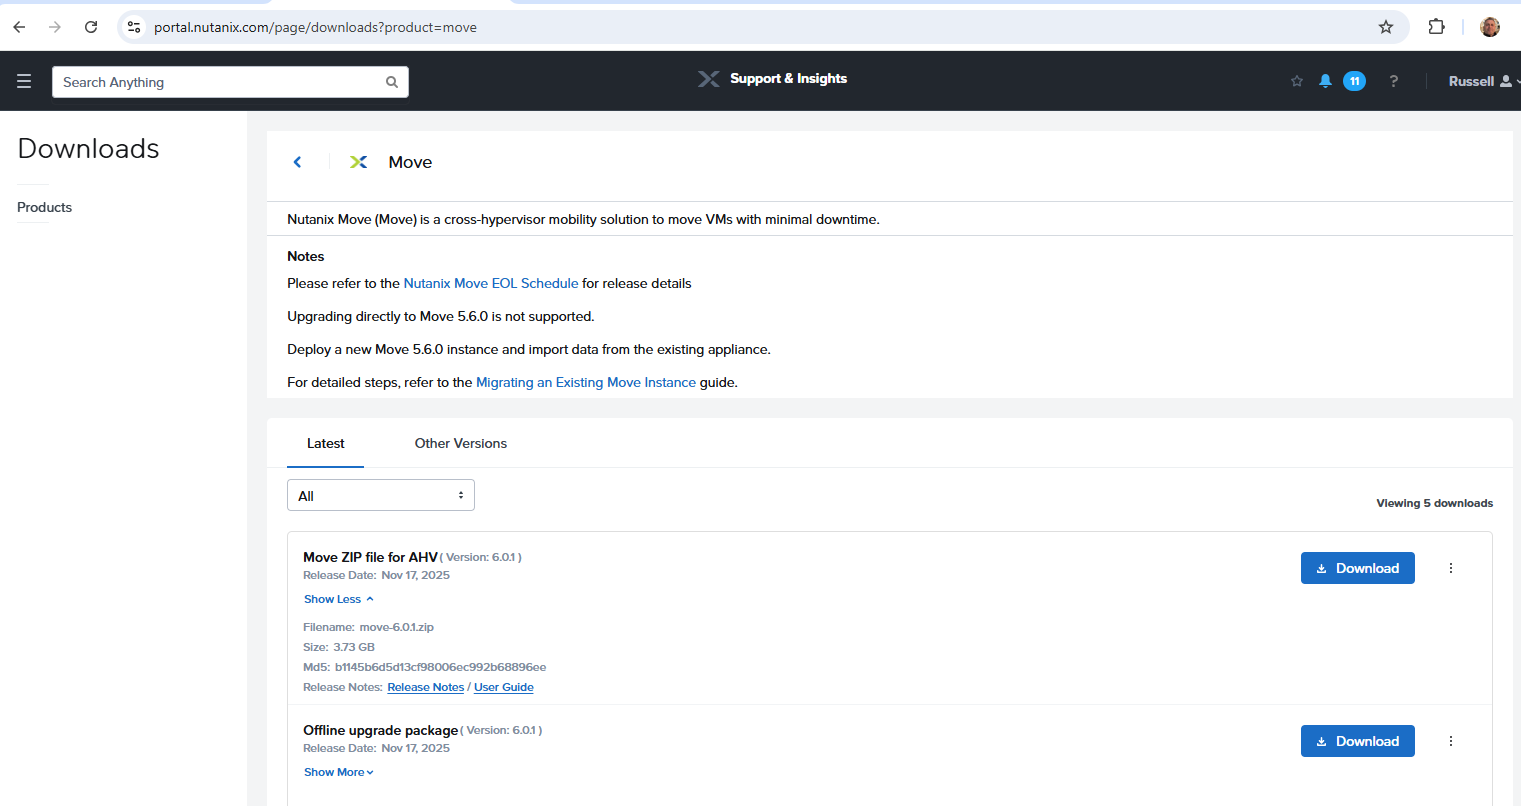
Note: it’s best practice to install Nutanix Move in the Target enviroment http://portal.nutanix.com/page/downloads?product=move
As I am running AHV, I downloaded the Move ZIP file for AHV
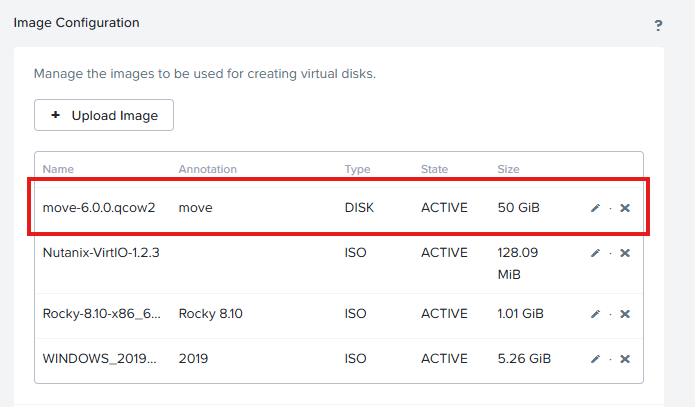
Unzip the move qcow2 file
Then from Prism Central - > Settings and Images upload as DISK with Bus Type as SCSI

Wait for the image to upload to turn ACTIVE
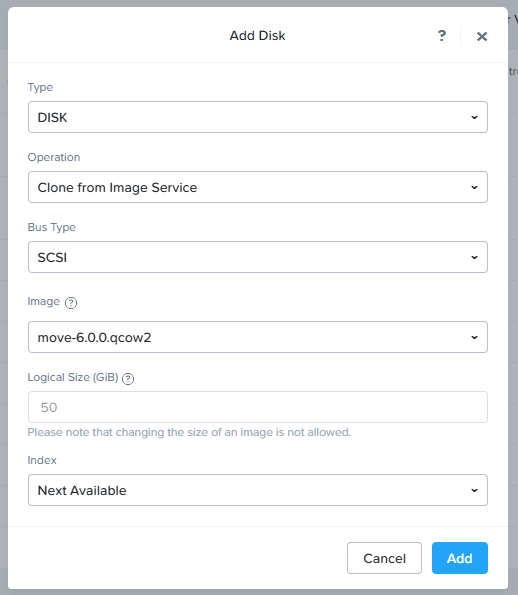
Create a new VM, cloning the image to create a new disk
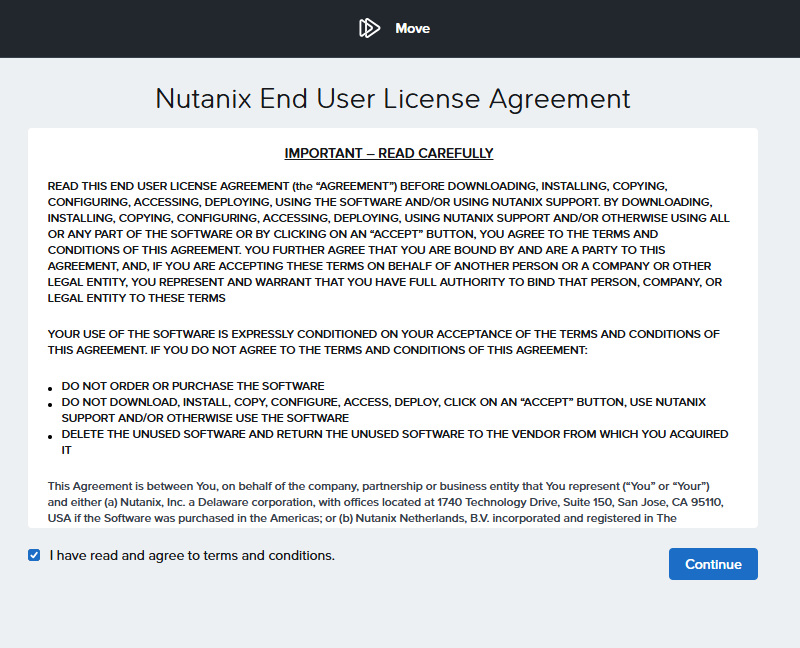
The next step requires DHCP is active in the environment Power on the VM, wait for the move instance to obtain an IP, open a web browser such as chrome and navigate to the instance Accept the license agreement and access Move
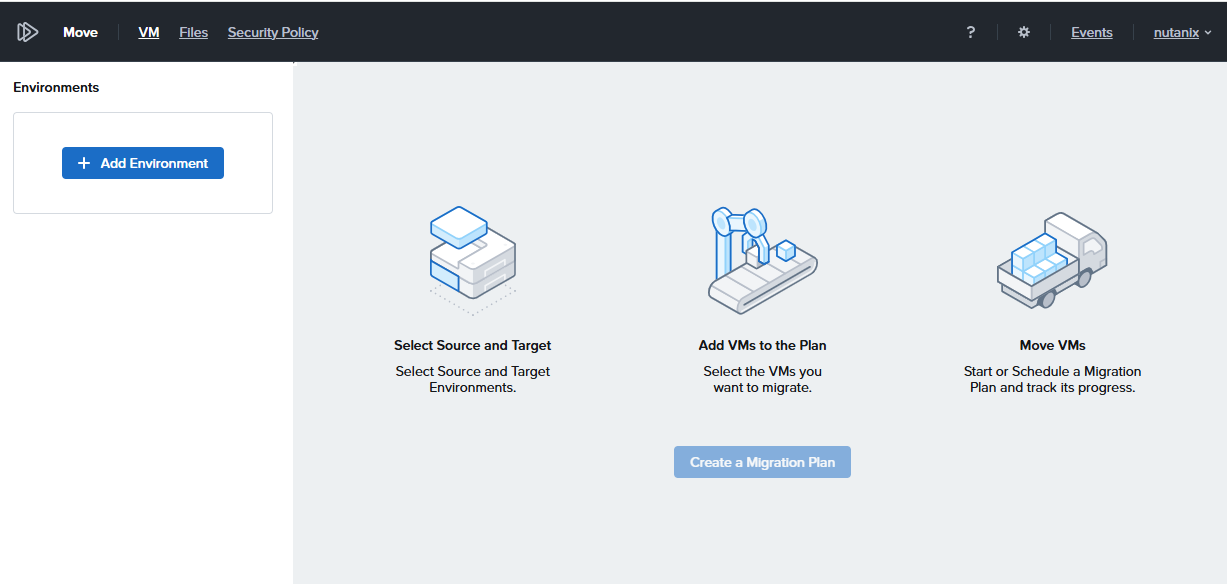
Add Environments
Once you have accessed the Move console first step is to Add Environments In my case I have two source environments, an esx server and a hyper-v server There are some additional actions needed for both
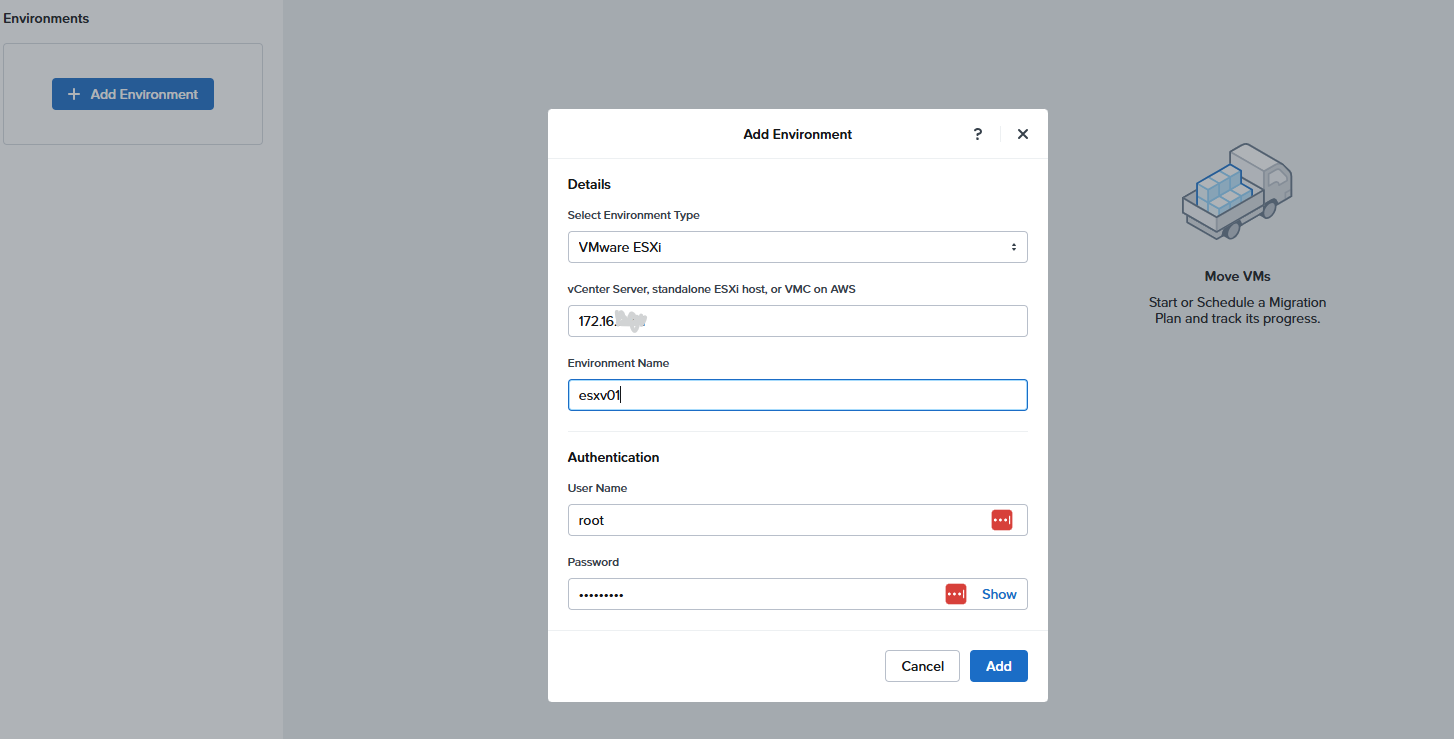
Add VMware ESX as Source
I am going to add single ESX host as source, first I need the IP and credentiales
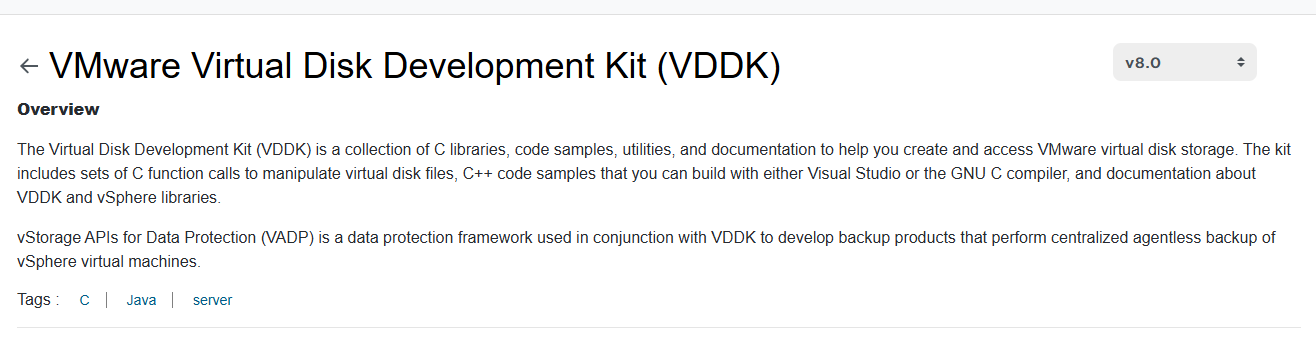
Then for ESX, I must download a VDDK library from Broadcom
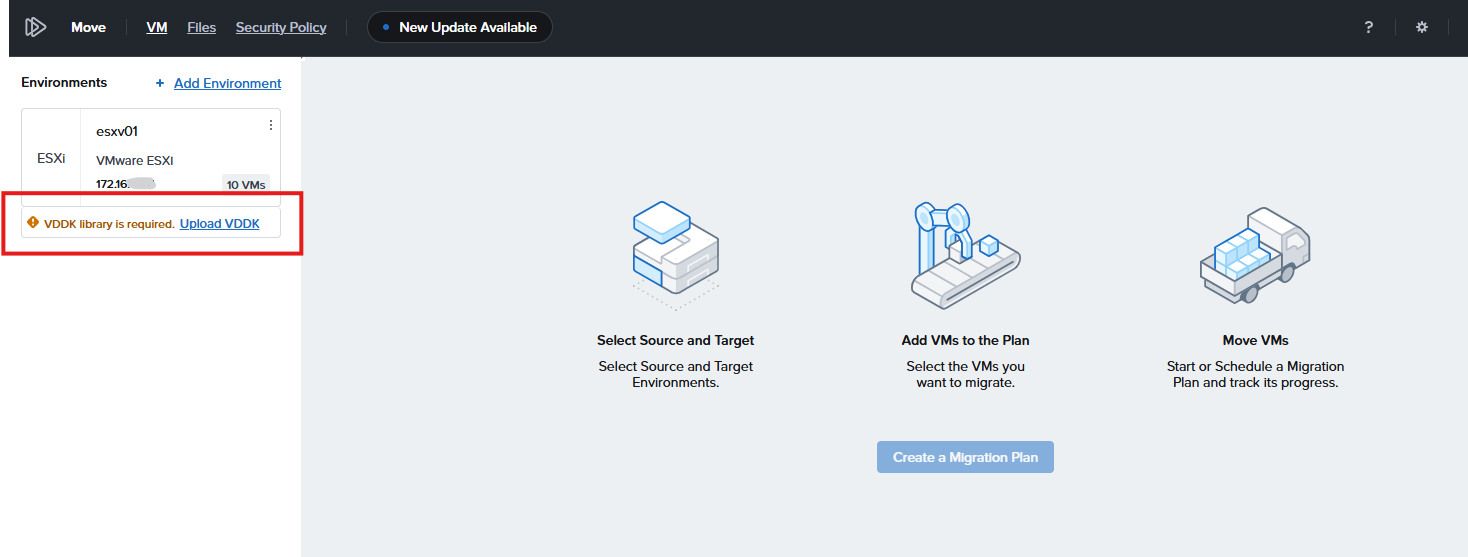
Clicking on the message opens a dialog with the link to the library
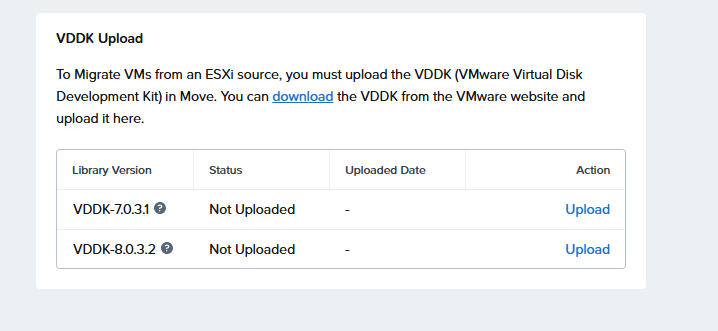
VDDK Library Versions
- For ESX 6.0, and 6.5 as source the VDDK Library Version is 7.0.3.1 (for Linux)
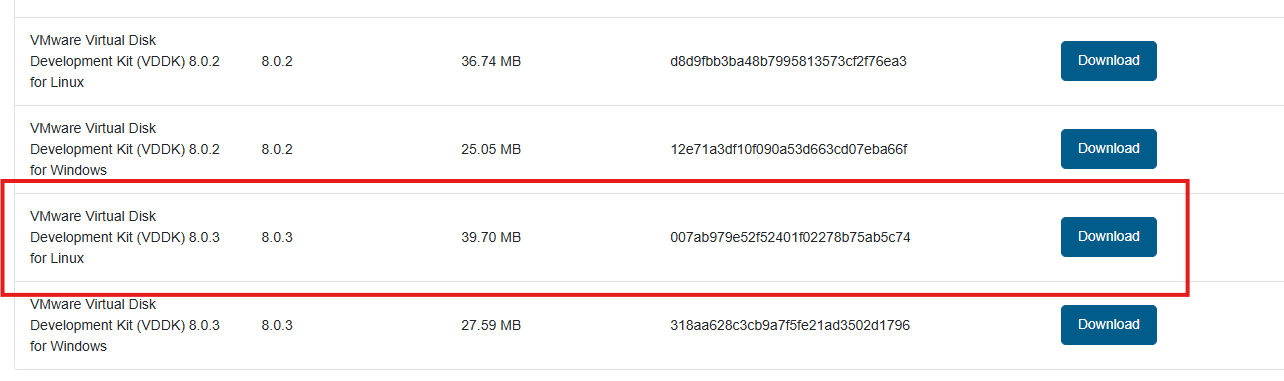
- For ESX 6.7, 7.0, and 8.0 as source the VDDK Library Version is 8.0.3.2 (for Linux)
Download the library coresonding to the ESX version
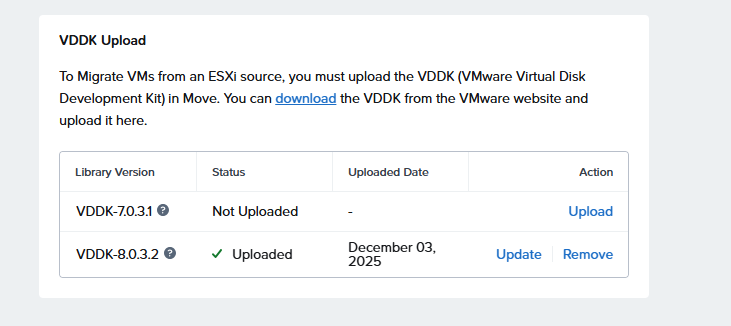
Once downloaded to the local network, upload to the Move appliance
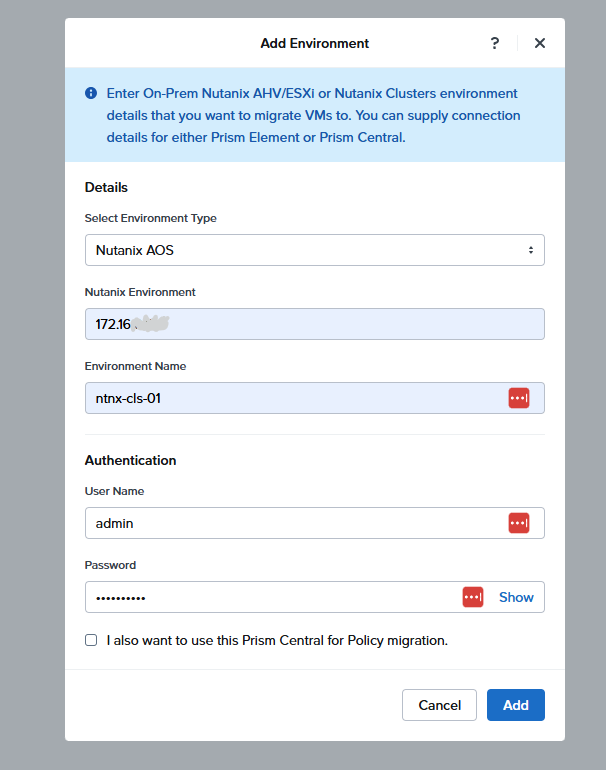
Add a Nutanix Cluster as Source
Now add the Nutanix Enviroment which will be the target for migrations Note I am using the cluster external address, not the AHV address
Add Hyper-V Source
Before adding Hyper-V WinRM should be configured on the Hyper-V server Also the following inbound and outbound ports using the TCP protocol should be enabled for the Windows Remote Management (WinRM) feature to work.
- WinRM-HTTPS: 5986
- WinRM-HTTP: 5985
https://portal.nutanix.com/page/documents/details?targetId=Nutanix-Move-v6_0:top-enable-winrm-hyperv-ahv-t.html
If using a local “administrator” account, disable the following Local Security policy: Computer Configuration\Windows Settings\Security Settings\Local Policies\Security Options\User Account Control: Admin Approval Mode for the Built-in Administrator account
Or disable Windows UAC (User Account Control) - In windows search for User Account Control and set it to Never Notify
Next Steps
Next steps are to create a migration plan and test some migrations
#MCExperts, #MCX