Migration to Nutanix - Part 5
In Part 1 I deployed the Nutanix Move appliance.
In Part 2 I tested a migration of a Windows 2019 Server from Hyper-V to AHV.
In Part 3 I tested migration of Windows 2012 and Windows 2008 R2 from ESX to AHV.
In Part 4 I migrated Legacy Linux distributions from ESX to AHV.
In this post I will test migration of newer Windows Servers
• Windows 2019
• Windows 2022
• Windows 2025
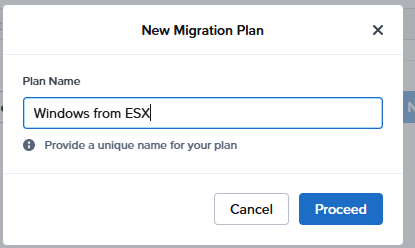
Create New Migration Plan
From the Move Console create a New Migration Plan
Source and Target
Select ESX as source and Nutanix cluster as target
Select VMs
Select the Windows VMs (Note if any have a warning advising that migration is not supported)
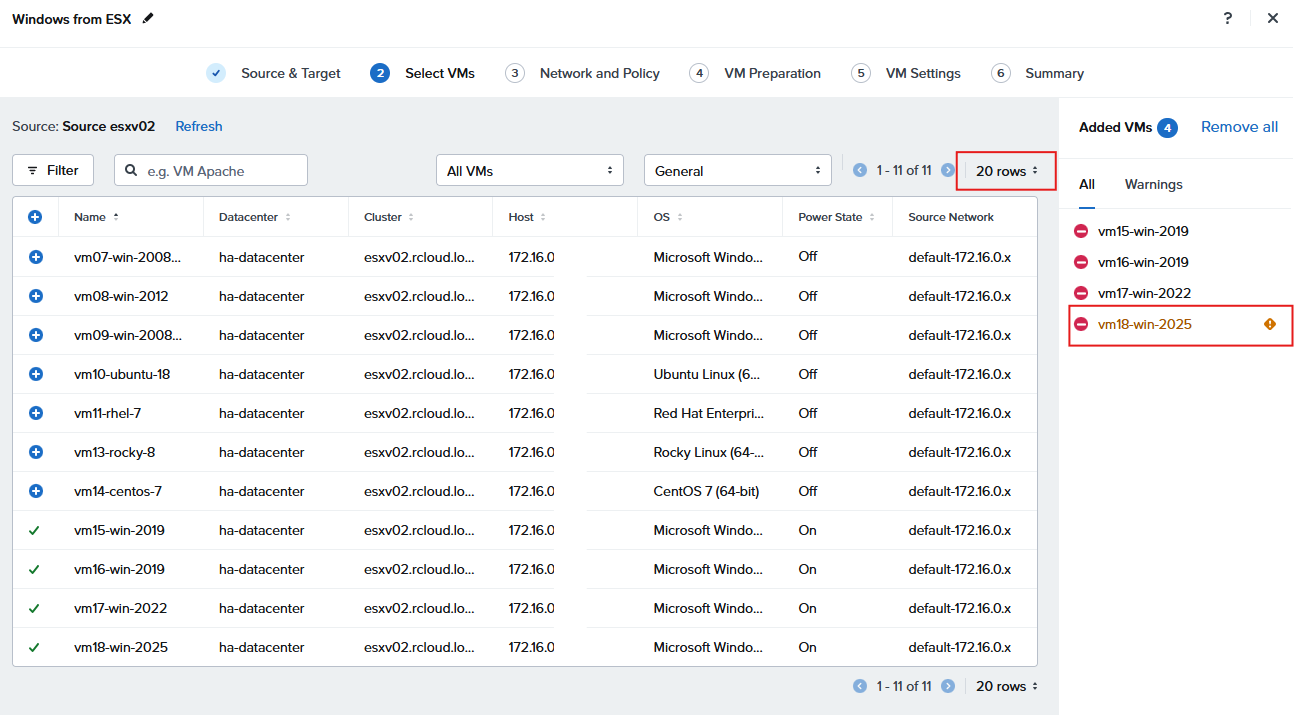
There is warning message for the Windows 2025 system
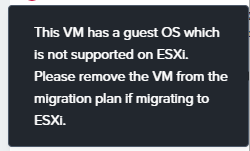
As the target is AHV and Windows Server 2025 is supported we continue
See Nutanix documentation for supported systems
Network
Select the target Network
VM Preparation
Lets try Automatic preparation as these are fully supported systems
Note The account should be a local administrator. All these systems have a common password
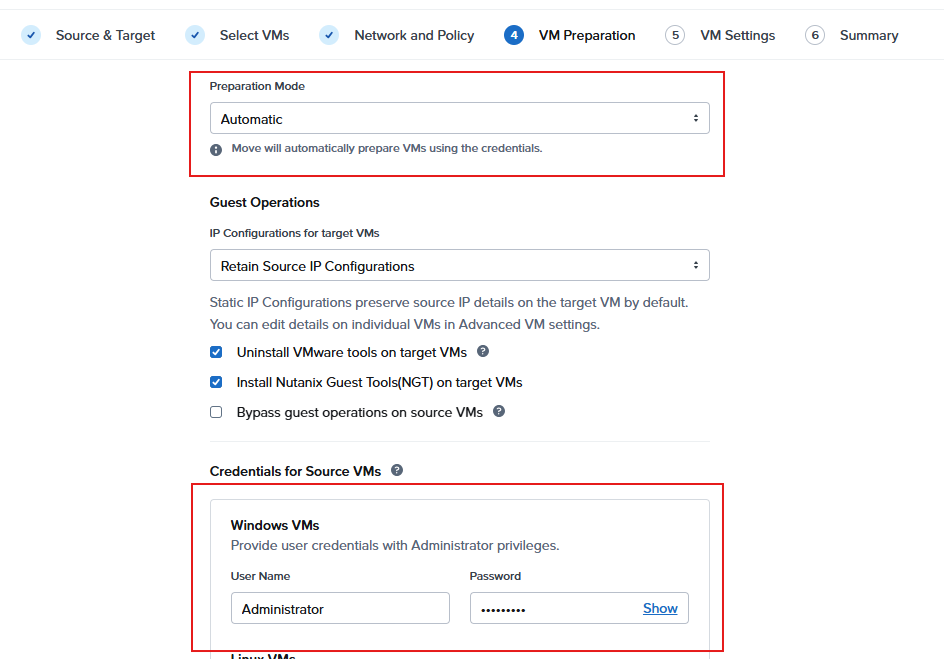
However all four servers report an authentification error
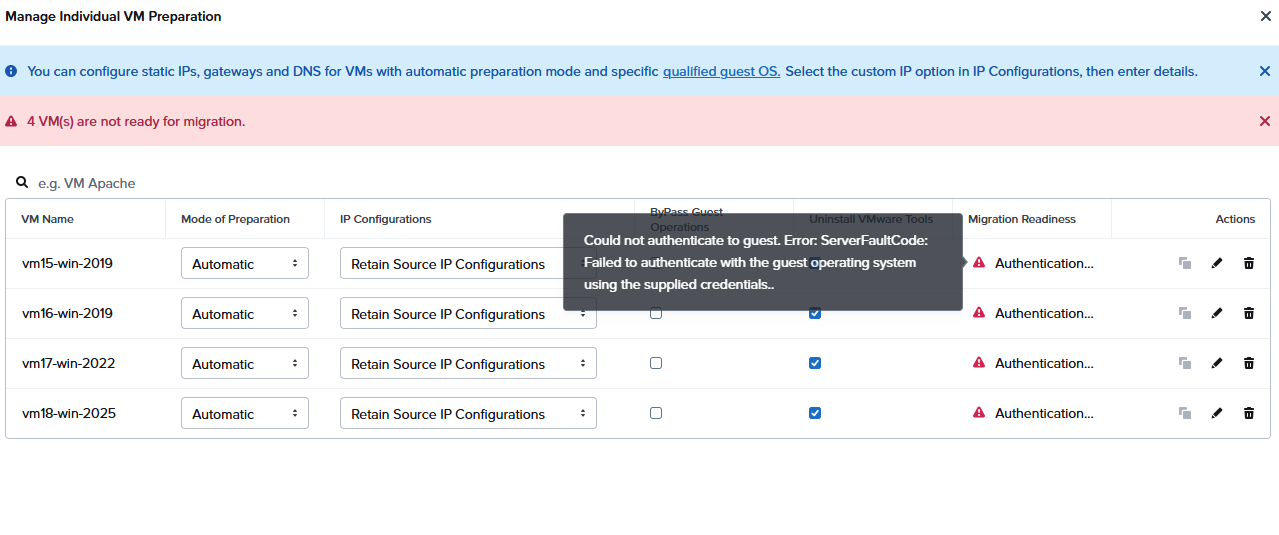
There are a couple of possibilities: uac, gpo settings, special characters in the password or firewall rules.
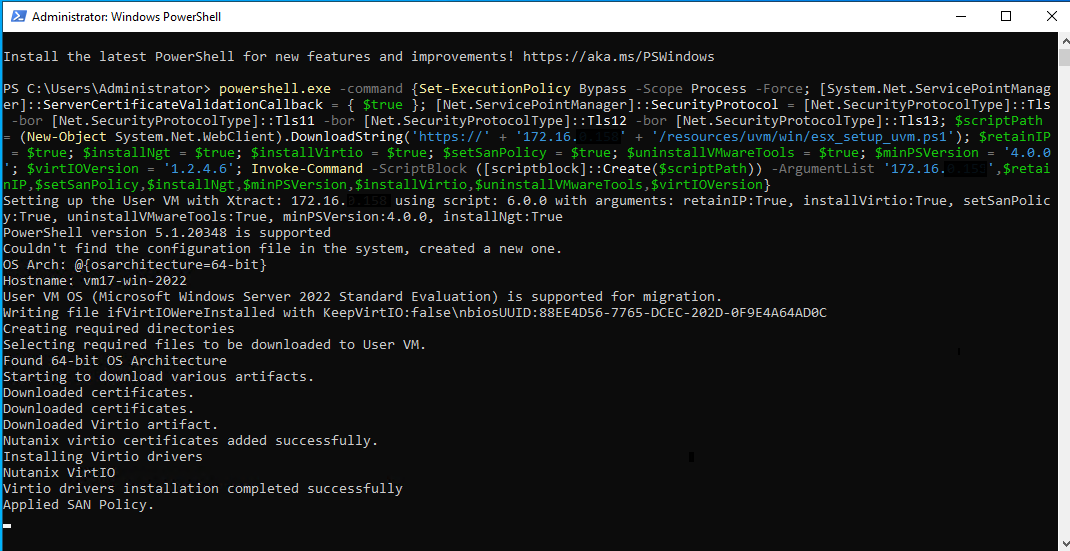
It seems most folks rather than troubleshoot, just use the manual setting and run the PowerShell script on each server to preinstall the required drivers. I ran this on each of the test servers 2019, 2022 and 2025 without any issues.
If you are using Windows Admin Center or Server Manager, rather than RDP, opening PowerShell and running the setup script on each instance won’t take long.
VM Settings
Keep as default
Plan Summary
Check the details and start the migration
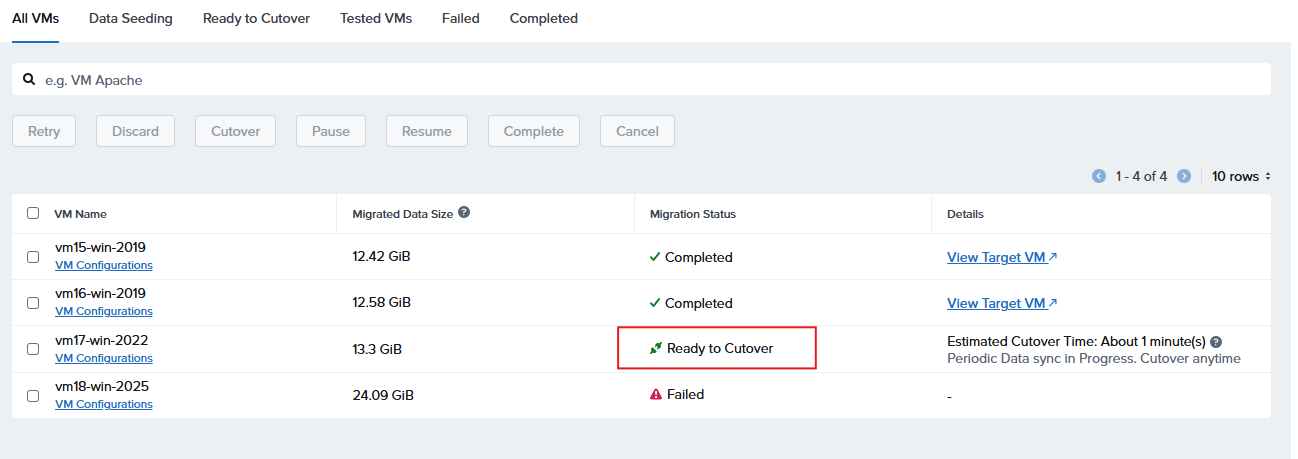
The various stages of migration are indicated though View Details
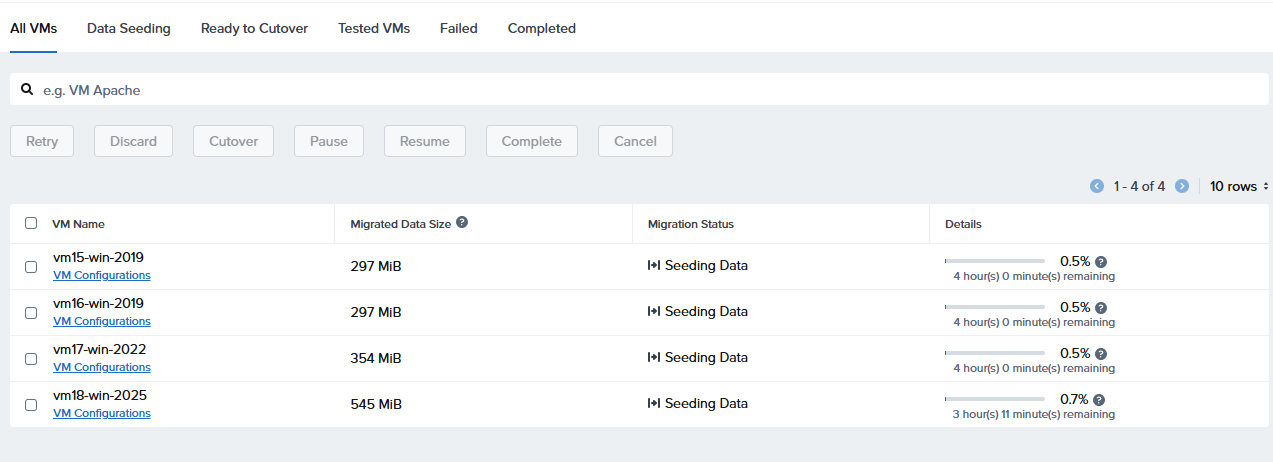
Once data is seeded the option to cutover will appear…
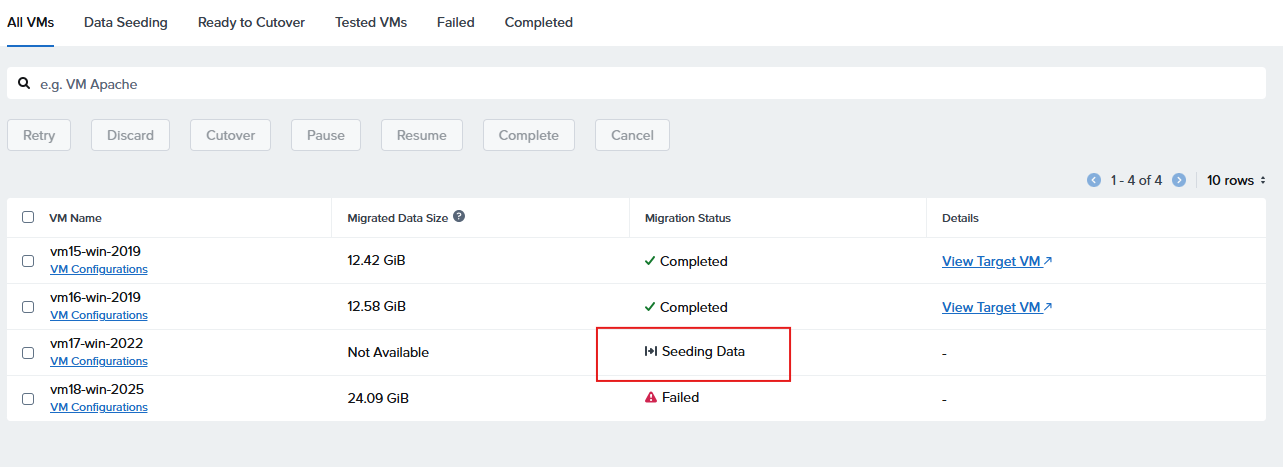
I left this running overnight and the migrations failed due to a network issue, probably the Windows instance that hosts Workstation and the ESX host went into hybernation
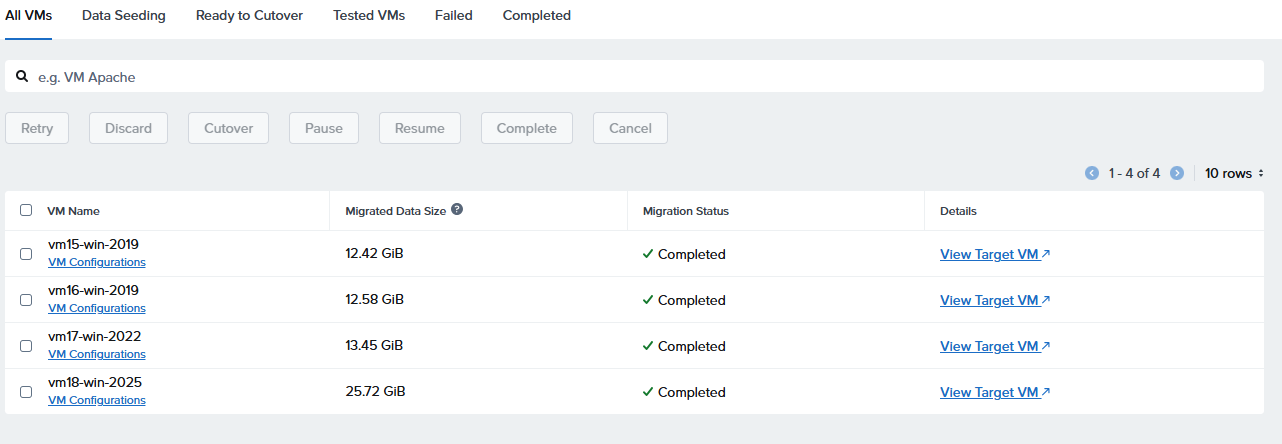
Failure and Retry
The Retry button restarts the process and data seeding resumes, in my case I did this VM by VM, the update to the already seeded data only took a few minutes and I was then able to run the cutover process

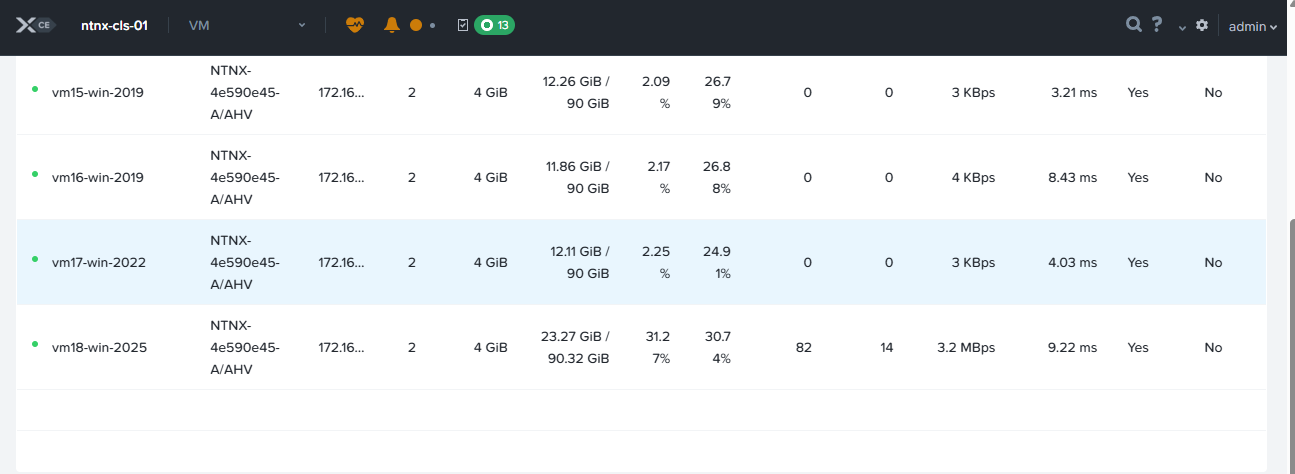
From Prism Element open the console to each instance and test logon, and network connectivity
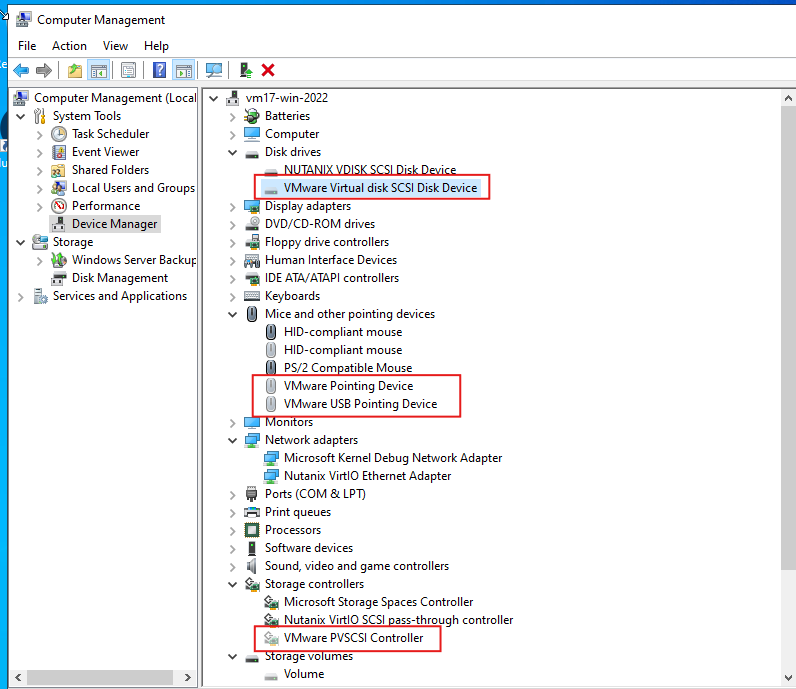
Open Device manager on each system, and check there are no issues, optionally show hidden devices and uninstall the VMware devices
Conclusion
-
VM Preparation is best done manually, as the automated process requires effort entering the local admin credentials, and is known to be problematic.
-
Manually running the PowerShell script is simple and ensures drivers are installed pre migration.
-
If migration fails use the Retry button
-
Data seeding takes time, benchmark copy times on your production network
#MCExperts, #MCX